Snib
bles

ABOUT
Snibbles:
a collection of "little bits of creativity". Snibble was a word I picked up from my great grandma when I was little to describe the bits of paper and cloth that I made when I found scissors that I wasn't supposed to have.
The actual definition: snibble n. [From Pennsylvania Dutch slang.] 1. Small pieces of paper, material, threads or the like left over from cutting.


About Mrs. Scott/Gabi
I received my Bachelor of Science in Art Education in 2001 and have taught in public schools ever since then. I estimate that I have had roughly 6,000 students in my classes!
For 6 years in Missouri, I was a visual art teacher for students from kindergarten to 8th grade. After moving to California in 2007, I taught for Starting Arts, an amazing arts organization that provides arts education to Bay Area public school kids who don’t otherwise receive classes through their normal school programs. I wore many different hats for 8 years at SA, from helping to make props, to administration roles, to teaching camps and classes and much more.
Questions: email me 🙂
gabi@snibblesandbits.com
I now live in Longmont, CO and make things, curate items from thrift stores and estate stales and facilitate art and maker programs in Boulder County including:
- High School Art Lab with BMoCA (Boulder Museum of Contemporary Art)
- Summer art camps at Junkyard Social Club in Boulder and Firehouse Art Center in Longmont
- SPARK Programs for individuals with memory loss through BMoCA
- Private Art Lessons
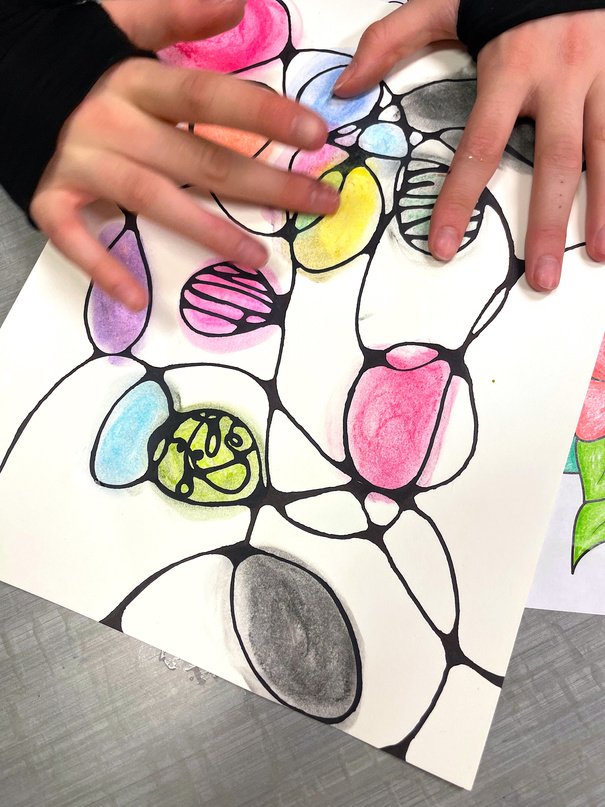
I call all of this Creation Facilitation.

Creation Facilitation?
To me, it's a combination of several things:
- Meeting creators where they are, whether challenged by dexterity or a skilled sculptor.
- Interdisciplinary - Huge S.T.E.A.M. Ed fan here!
- Adapted activities for Neurodiversity - I specialize in 2E and individuals with ALZ and memory loss.
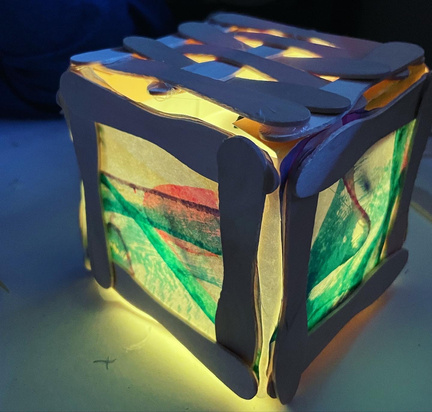
- Materials come from unusual places and are used in atypical ways. I love hardware stores!
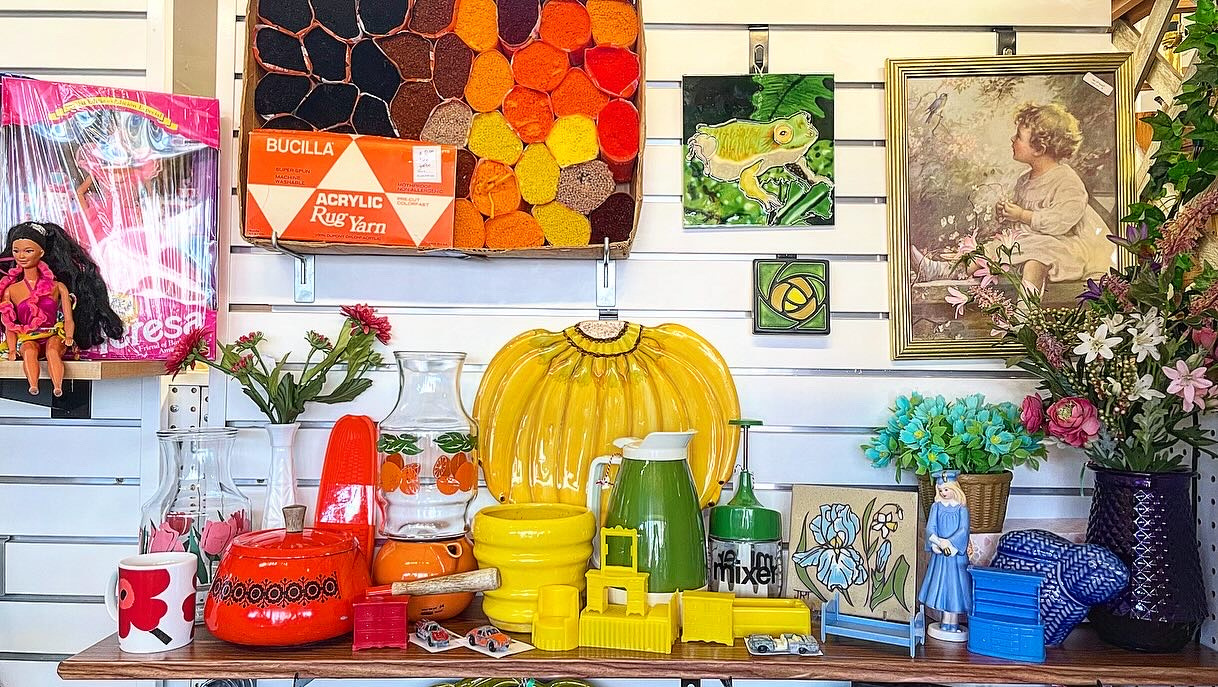
- I also LOVE going to estate and yard sales and curating interesting objects that I sell in my booth at Cobblestone Corner in Berthoud, Colorado.

Design
Teaching art and curating cool stuff are not my only gigs
I have extensive experience creating vector graphics and printed media with Adobe Illustrator, InDesign and Canva and have functional Photoshop skills. I really enjoy tackling new challenges and there is no job too small!
My design company is Elle Creative.

Beginnings
Graphic Design has always been my passion since my oldest brother gave me Microsoft Publisher in the mid 1990s when I was a tween. Although I got my degree in art education and have taught many children, I have created signs and other print media as my hobby on the side.
For the past 15 years, I have been teaching a bit less and designing more and have created print and web content for non-profit organizations and small businesses, designed logos for countless orgs, and have even completed custom photo album layouts for weddings and bar mitzvahs.


Snib
bles
Yep! I made this website in Canva,
one of my happy places.